Showing posts with label painting. Show all posts

Wednesday, October 3, 2012

Beauty & the Beast - Part One (The Fun, Artsy Part)

Well if you are friends with me on Instagram, you know exactly what I'm talking about. Yup, I drank THE kool-aid, I made an Amy Butler Weekender bag. Let me preface that I did not originally intend to.. Okay, here's what happened..


I used to live in Arizona and that's where I was first introduced to the mega fabulous Crafty Chica. I fell in love with her style, her confidence, and her desire to inspire. She is such an amazing artist and inspirational, positive Latina role model for my two ankle biters. I have followed her success and am so happy to watch her make it national and with a craft line of her own.

This past month I had the opportunity to work with one of her craft products - flocked decals. Not boring ol' traditional puppies and teddy bears, but really awesome designs that you will want to go crazy with. And I went crazy all right!


I ironed on the flocked decals to white linen - I knew I wanted a canvas-ish base to work off of. For the sacred heart, I used watered down acrylic paints to bring it to life. You could of course use fabric paints or even the Crafty Chica's fabric pens!


For the muertos couple, I really wanted to enjoy some mixed media flavor.. lots of paint with lots of hand embroidery.


There is SO much embroidery that is hard to highlight in the pictures. If you are going to Sewing Summit in a few weeks, come get a closer look! The flocked decal was perfect for this mixed media project. It provided yummy texture and a fabulous base for painting.


Needless to say, quite a few hours went into working on the decals. I didn't want to just frame it, I wanted to enjoy this all the time. With Sewing Summit around the corner, I thought it would be fabulous to create The Weekender bag and include this as the highlight.

And I do have lots to say about the actual construction of the bag.. which I will give you later this week in Part Two.. Until then Click here to see if a Michaels store in your area is carrying the Crafty Chica line.

***
I received this complimentary product from CraftyChica.com as part of the Crafty Chica Design Team, 
 and was asked to share an original DIY project.

Monday, January 16, 2012

Where Does Inspiration Come From

There are times when I'm flooded with ideas. They always seem to hit me at inopportune times..like when I'm trying to fall asleep, driving Kiddo to school, or in the shower. And there are plenty of times when trying to think of something new and creative is painful and my brain stalls. What do I do? I look for creative prompts and try to work past it.

I'm so glad Project Quilting is back in full swing. Kim has worked at hard at creating an atmosphere that is welcoming and encouraging. The week long challenge is never long enough for me to complete what I envision, BUT it gives me incredible inspiration and a safe place to try something new. Whether you are a novice or experienced, modern or traditional, you have to give it a try.

This week the challenge was to be inspired by architecture. I had a number of ideas, but they always ended up being too literal. The week was coming to an end and I had nothing to show for it. On the way to Kiddo's school I was listening to The Muppets soundtrack and racking my brain. This started a very long train of thought..

..The Muppets.. "The Muppets Take Manhattan" movie..famous New York buildings..
The Empire State Building... "Sleepless in Seattle" and the Empire lit up with a heart for Valentine's Day..
Valentine's Day.. love.. so in love my with my husband.. haven't painted much since I fell in love with my Hubby...miss painting.. favorite artist Van Gogh..favorite painting "Starry Night"...

Does everyone's else brain work in such crazy ways?
So.. what I came up with is to take a spin on "Starry Night".. something romantic and something that focuses on the beauty of architecture instead of nature. 

I wanted to try a few new techniques as well. I had recently read about an alternate to using fusible when working with appliques. The main idea is to over saturate the fabric with starch and lots of hot ironing. It worked great - really cut down on fraying with raw edge applique, considerably cheaper, and pretty quick.

Here is a picture of where I started with the simple appliques..
 And then I decided that I wanted to play with painting on fabric. It would be crazy to try a Van Gogh and not have any actual painting.I worked with both fabric paints and acrylic paints mixed with a textile medium. I have lots and lots..and lots to learn. BUT I had soo much fun and will do it more in the future.
 Then it was time for lots of free motion quilting. Some with colored thread, some with different colored bobbin thread, some monofilament.. You can't learn if you don't take risks and put yourself out there.
 And here is my completed quilt. I love the warmth and love that emanates from this piece. It just makes me happy to look at and it made me happy to make. In my opinion, quilting should be a release and not a source of stress.
 I have a love/hate relationship with the heart.I feel it's distracting,but it was the source of inspiration and it felt necessary to keep. I hope Van Gogh isn't turning in his grave.. hope he would enjoy a more romantic take on his breathtaking work..


Tuesday, April 26, 2011

Restoration Hardware Knock It Off - Monogram Rug

Time for me to jump on a blog trend craze - painting rugs! Rugs can be soo expensive, but they add so much to a room or even a patio. Painting an inexpensive rug is the perfect answer for those looking to update their home without dropping a bundle. Today, I'm going to show you how I spent $31.00 to make a rug inspired by the one below with a *sale* price of $79 at Restoration Hardware.


Materials needed:
Egeby rug from Ikea - I cut mine in half so I had two rugs in the end
2 sample paint jars of Martha Stewart latex wall paint - a pink and brown
(you can buy these at Home Depot - they will mix the colors to your preference)
painting tape and brushes
*a little bit of brown spray paint
vinyl monogram stencil

How long you will need:
2-3 hours

What do you do:
1.) I cut my rug in half and removed the binding. (I used the other rug for another knock off project that I will feature later this month)

2.)I masked off the center rectangle with painter's tape. I measured the sides to be sure that is was pretty accurate.


3.) With a mini roller, I did a couple coats of pink latex paint for the middle rectangle.

Here it is finished - looking great!
4.) The next part I don't have pictures for.. I used the chocolate paint and did a couple coats on the border. For some reason the border was a lot harder than the inner rectangle. I didn't have a mini roller & pan for the brown, and used brushes instead. Bad mistake. I highly recommend getting roller & pan set for each color you use - they were less than $2 at Home Depot and make a huge difference. I ended up using some left over spray paint to even out the color on the border.


5.) I then used my Pazzle electronic cutter to cut a vinyl stencil out for the monogram. Now the vinyl won't stick great, so just go slow when you paint. I used a foam brush and heavily painted the monogram.


And that's it! I love it! It's going to go in Juliette's room under her crib - just like they have pictured at Restoration Hardware.
I hope you are inspired to try to paint a rug this summer. I'll be honest there is a learning curve and I did utter some unsavory words, but I really love my rug.

Have questions? Just holler!
Have a Knock It Off suggestion? Please let me know!

Next week we will be making this beauty.... I'll show how to make the rose petal one and give suggestions on variations for boys.

Linking Up To:

Thursday, April 14, 2011

Knock it Off - PB Easter Stakes - Part 1

How cute are these Pottery Barn Easter garden stakes? Super cute, right? Well as much I think they would be adorable in my front yard, I'm not about to pay $49.00 for them. You're paying this because it is *handpainted* and vintagey.. Well readers, I'm going to walk you through making the blue one for at least half the cost, and you get bragging rights! 
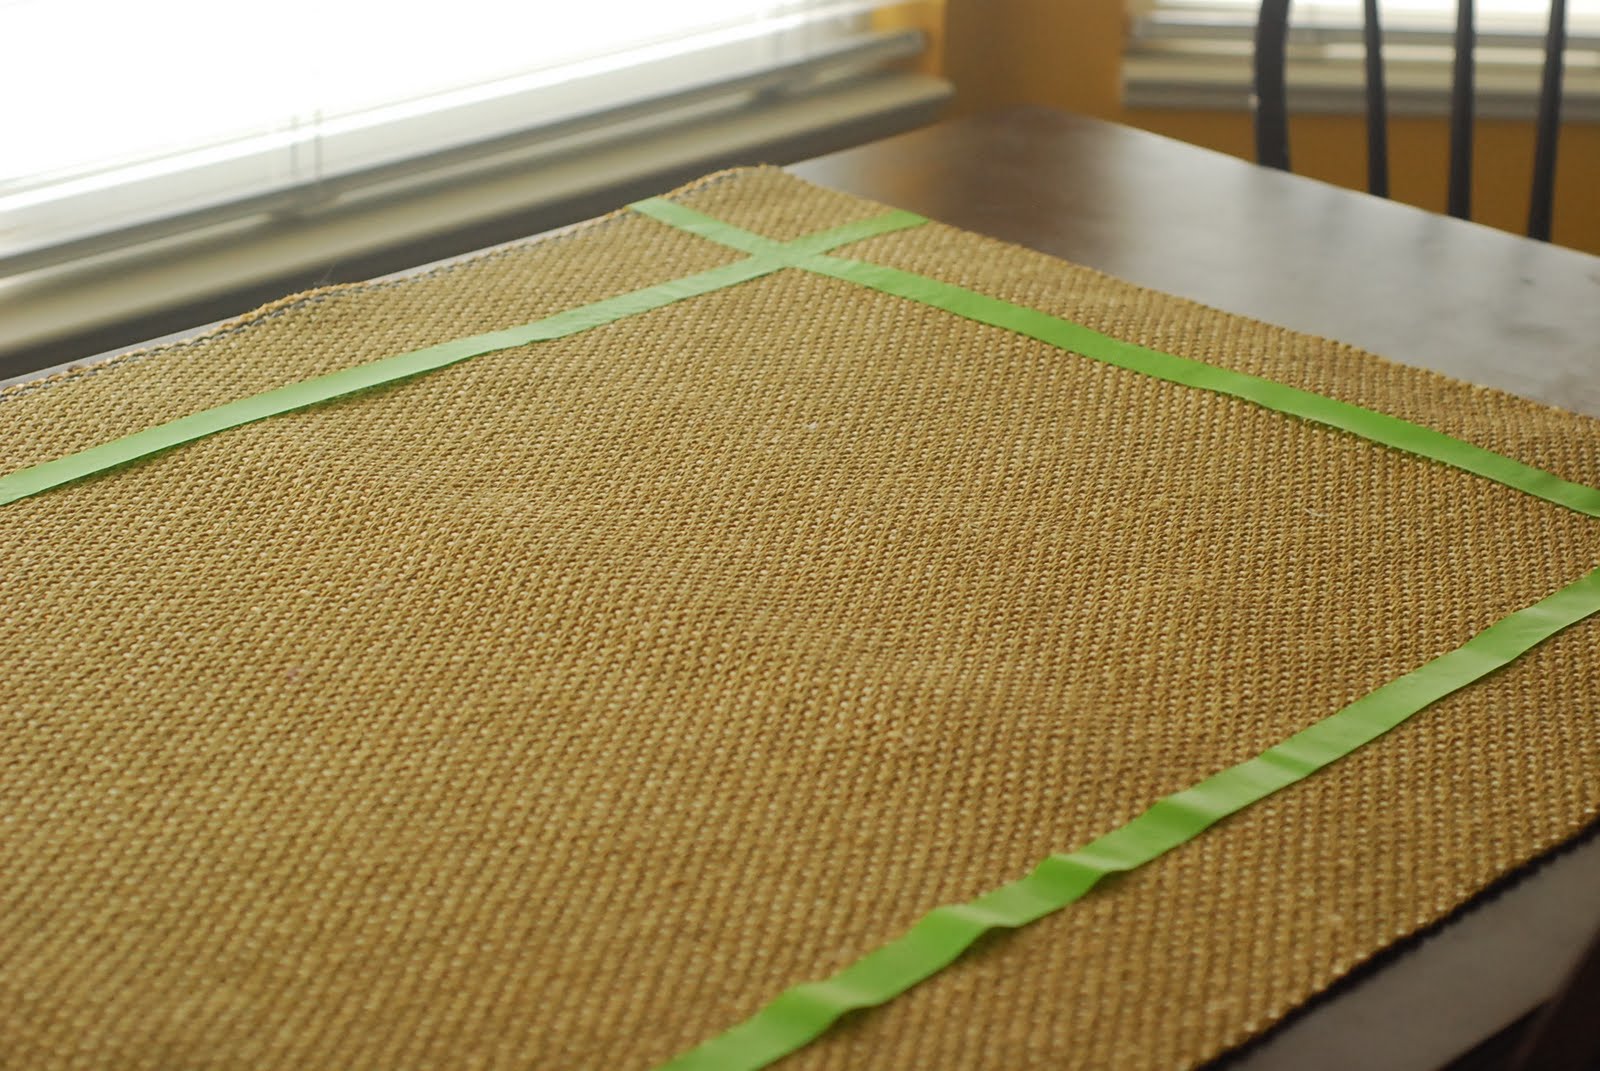
Here is what you will need: * apx. 8"x11" solid piece of wood (I bought mine at the Wood Connection in UT) * hobby paint in robin blue, chocolate brown, cream, yellow, pink, orange, celery green * white vinyl if you have a vinyl cutter OR get some large white alphabet stickers OR plan on handpainting the letters. *wooden stake *Gorilla Glue OR something equally strong *paint brushes and a makeup sponge. How long you will need: about 2 hours What do you do? 1.) Paint the front & sides of wood piece robin blue. I buy cheap-o hobby paint, so I needed 3 coats. You could also spray paint this if you are so inclined. 2.) Now that it is a solid blue, you are going to age it! Take a makeup sponge and just a little bit of brown paint. Dab most of that off and streak it all over.
3.) With the bottom of a paintbrush, dab cream paint dots all around the border of the wood piece.
4.) Your board should look something like this now. 5.) For those of you that are totally scared about painting, I kept you in mind for the next step. Rather than freehand paint the letters, I cut them out of white vinyl on my Pazzle. You could also use large alphabet stickers instead. Or if the idea doesn't make you break out in hives, you can absolutely paint the letters on.
6. The next part, you will actually start painting..so it may get scary, but remember Pottery Barn is charging those big bucks because it looks & was hand painted. This is not supposed to be perfect, this is not supposed to look like it came down an assembly line. Take a deep breath and have fun! So I drew an arrow very similar to PB's in pencil. If you don't like how it came out, you can always redraw or paint over it. I did the base coat in the celery green. Again because I work with cheapo paint, I had to paint the arrow at least 2 times. 7.) Now we want to give our arrow some dimension, some kick. So we are going to give it a dark chocolate shadow. Load up your brush with brown paint on one side of the bristles and green on the other - just like below. Practice painting on a piece of paper till you are happy with the results. Make sure your brush is loaded up and paint down the left side in one swoop - no wiggling back and forth, just one swoop. 8.) See that was fun, right? Not too scary, and we are almost done with painting! Here comes the trickest part. You are going to draw your chickie and broken egg. Again, if you aren't happy with the first draw, feel free to pencil it again. Look below - I added some junk in my chickie's truck :o) 9.) Once you are satisfied with the rendering, fill the chickie in solid yellow and the egg shells in pink. Again..it took me a couple coats to make it solid. 10.) Paint chickie's legs and feet brown. Make a small dot of brown for the eye. Dab a small triangle of orange for the beak. Now we are going to give chickie some depth as well. Load up your brush in the cream and swoop from tail to under belly. 11.) Now we are going to give chickie a wing. Load up the brush with half brown and half cream, and in a single swoop paint on the wing. Next give the pink egg big cream polka dots. And that is it for part one! Can you believe it? Did I miss something? Need more explanation? Let me know. The next part will just be spray varnish and adhering the wood stake. So if you are comfortable with those on your own, feel free to jump to the end. I hope you enjoyed this PB knock off. It is a super cute lawn decoration for your Easter hunt! I will be doing more designer knock offs, so feel free to submit any links. I'm not WonderWoman, so there may be things I won't feel adequate in tackling..but let's push the limits!

Visit thecsiproject.com

.

Related Posts Plugin for WordPress, Blogger...