Sunday, September 30, 2012

Park City Vacation

As much as I love vacations that are jam packed with adventures, I adore vacations that involve one word - relax.

Before we had kids we purchased a timeshare with Marriott and for the most part we love it. Every year we take an annual week trip up to Park City to swim in the hot tubs, make s'mores by the fire pits, hike around the mountain, and not much else. There is no agenda, no rush, and no stress. The kids love this dedicated time with us when neither of us have to work. It is a time when we recharge and I usually find renewed balance and focus in my life.

Here are some of the photo highlights of our trip..


Saturday, September 29, 2012

Hey, Hey We're Monkeys!

Are you ready to see my next project using Sharon Kropp's new line Little Monkey for Blend Fabrics? Earlier this week I did a tutorial on how to create a traditional quiet book, perfect for learning your numbers. But this fabric line is just perfect of course to create a song book for "No More Monkeys Jumping On The Bed"!

It's constructed different than a traditional soft book and will be lots of fun for the older toddlers.

Want to know how much fun.. well you can see my monkeys in action with it here..


Little Monkey Song Book

Materials Needed:
1 panel of Little Monkey - multi numbers
1 yard of woven, fusible interfacing
1 yard of No More Monkeys - blue
1 fat quarter of Chevron - light blue
scraps of fabric from Little Monkey line
scraps of heavy no-sew fusible web
8 sew on snaps

Directions:
1.) Cut out each of the numbers (0-9) and trim down to 7.5"x 10.25". Cut out 10 pieces of interfacing measuring 7.5" x10.25" and iron on to the back of the fabric numbers.

2.) With a 1/4" seam allowance sew the numbers together in descending order (9-0). See reference photo below.

3.) Cut two rectangles out of the No More Monkey blue fabric measuring 10.25" x 35.25". With right sides together, sew the rectangles together to form a piece measuring 10.25" x70". This will be the back panel to your book.
** You could patchwork the back with various fabrics from this line, just be sure your final shape is 10.25" x 70"

4.) Cut four rectangles out of the Chevron fabric measuring 2" x 17.5". Take two of the rectangles and place them right sides together. With a 1/4" seam allowance, sew the two long sides and one short side. Turn the strap right side out and press. Repeat with remaining two rectangles. These will be the fabric ties. Set them aside for now.

5.) Iron on the fusible webbing to the backs of the scrap fabric pieces. Fussy cut out various monkeys and shapes to decorate the songbook cover. See reference photo below. Since it is a heavy duty fusible webbing, you will not need to sew them in place, just iron them on and you're done!


6.) Pin straps on top of the number panel - one centered on either end. Lay the back panel piece right sides together to the number panel (your straps should be sandwiched in between the two panels). With a 1/4" seam allowance, sew along the perimeter leaving a 4" gap. Clip corners up to the stitching line and then pull right side out. Press.

7.) Topstitch the perimeter of the book with a 1/8" seam allowance - this will close your gap and give it a more professional appearance. I also stitched in the ditch between each of the number panels.

8.) Your book is almost completed, to complete the accordion fold out construction, we will now hand sew between the pages. On the backs of each number panel, sew a snap into the top and bottom corner. (See reference photo below)


9.) That's it! The pages will snap together and the book comes together with the fabric ties. Older toddlers will love singing the song, counting the monkeys, and learning fine motor skills with the snaps.


I have one more inspiration project to share with you later this month. An improved quilt built around the number panels. I can't wait to show you!


Friday, September 28, 2012

What Happens To A Dream Deferred?


Have you ever had your greatest desire answered but were too blind to see it? The path to success is winding, bumpy, emotional, and mostly behind closed doors. All my life I've wanted to be an artist. In high school I was on that path.. then there was college, graduate school, marriage, babies, and more. A dream deferred. Then the dream changes.. and changes once again. 

Rather than talking about what I want to be, I've decided to just go do it. I'm putting on some blinders for the first time in my life. Looking past the quick immediate gratifications, to be in and enjoy a dream delivered.

We have been vacationing this week and it has helped clarify so much. I've laid out my plans for 2013.. It includes some fabulous events, starting homeschool with my adorable daughters, lots of projects for those I love.. and art. Lots of of it. Lots of surface art quilting. 

To kick it off early, two of my pieces are in the National Arts Program and will be on display for the month of October.


Don't deffer your dreams for too long or lose sight that they may already be in your grasp.

Thursday, September 27, 2012

Hilltop Presale Winners!

And the winners are....

#2 Ashlee - I'm Topsy Turvy

and

#6 Nessie

I will be contacting you both with the details for tonight!!


Monday, September 24, 2012

Little Monkey Counting Book - Tutorial


I really love making my children toys and books. There is something so peaceful about knowing exactly what materials were used. I especially love when I can create a soft, fabric toy for them. My youngest is almost two and still loves to chew and rip books. I was elated when I saw Sharon Kropp's new line for 
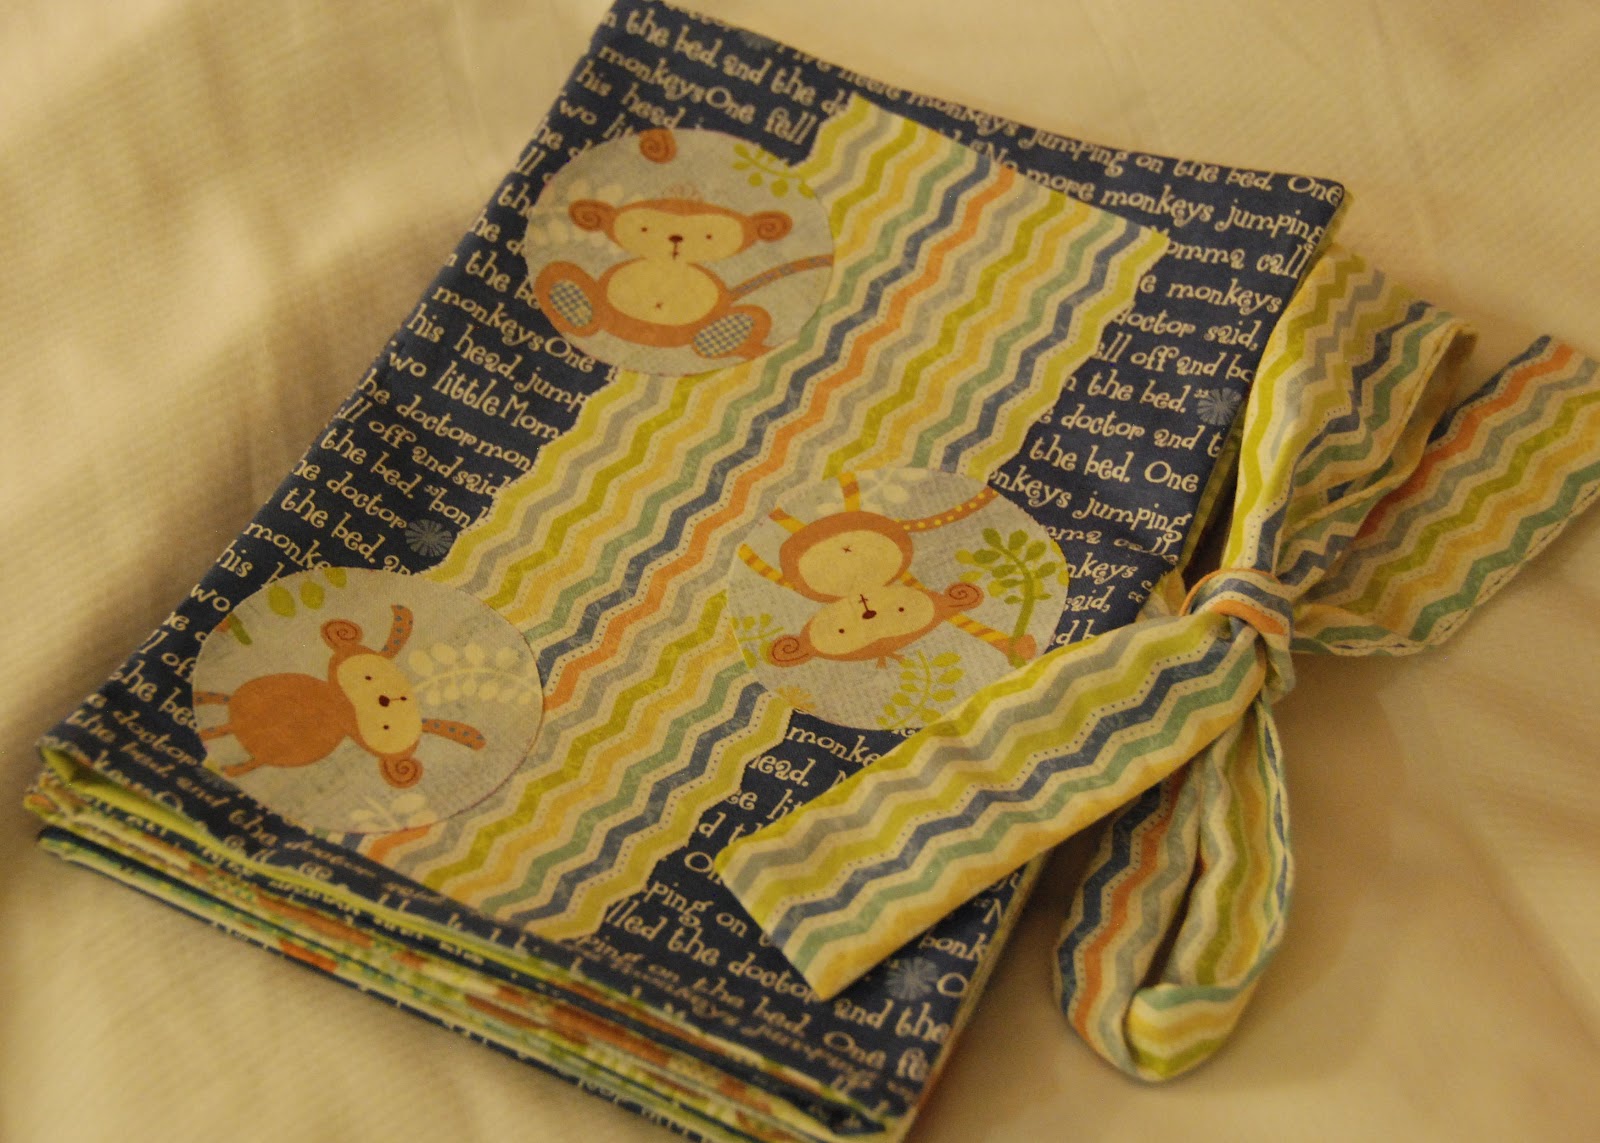
Blend Fabrics, Little Monkey. The line is full of sweet monkeys, chevrons, and more. The numbers panel in particular is quite versatile. I made a counting book, song accordion book, and have an improv quilt in the works. Today I will be show you how to create this fun counting book that is sure to be hit with your children.

Little Monkey Counting Book

Materials Needed:
1 panel of Little Monkey- multi numbers
1 fat quarter of the Chevron - light blue
1 fat quarter No More Monkeys - brown
Scrap of Jungle - light blue
Scrap of fusible fleece
1 yard of woven fusible interfacing

Directions:
1.) Cut out each of the numbers (0-9) and trim them down to 8.25" x11.25".

2.) Cut out (1) 8.25"x11.25" rectangle from each of the two fat quarters - these two pieces will be the front and back covers.

3.)Fussy cut out a monkey from the scrap piece of Jungle and iron on a piece of fusible interfacing to the back of the fabric. Cut a 6" square of Chevron with pinking shears and iron on a piece of fusible fleece to the back of the fabric. Now you will place these pieces on top of the brown No More Monkeys rectangle and free motion applique them in place. If you are not comfortable with free motion sewing, you can of course use a decorative sewing machine stitch instead.


4.) Cut out (12) pieces of fusible interfacing measuring 8.25" x 11.25" - iron these to wrong side of each fabric rectangle. This interfacing will give your book more weight and body. You could use fusible fleece or batting instead, but I prefer the weight of interfacing.

5.) With right sides together, sew the front and back cover along the left long side with a 1/4" seam allowance. See placement picture below.


6.) Continue sewing page panels together in the following order:
0-9
8-1
2-7
6-3
4-5

**If this page construction seems odd or wrong, jump down below to see photos of finished pages**

7.) You are almost done! Now we will complete the page panel construction. First place your front/back page panel right sides together with the 0-9 page panel.


Pin them together and sew along the perimeter with a 1/4" seam allowance - leave a 3" opening.

Clip corners up to the stitching line and pull right side out through the 3" opening. Press and topstitch with 1/8" seam allowance - this will close your opening and provide a nice finished look to the pages.

8.) The second page panel set is 8-1 and 2-7 (see reference photo below). Construct as described in step 7.

9.) Your final page panel set is 6-3 and 4-5 (see reference photo below) and construct as described in
 step 7.

10.) Now you will lay the three completed page panels on top of each other in order.


After carefully lining up the pages, sew a straight line down the center of the seam.


That's it! It makes a fabulous gift for babies and toddlers paired up with a coordinating blanket or quilt.
My Kiddo loved counting the monkeys on each page.


Come back later this week to learn how to create a song book for "No More Monkeys Jumping on the Bed" in an accordion style construction with snaps and ribbon tie.

.

Related Posts Plugin for WordPress, Blogger...